lesson · lip position

Find the Opening

Try One Clear Note

why the opening matters

A shape, not a talent

A pucker whistle is air passing through a small, round opening and setting the space inside your mouth ringing. If the opening is too wide, the air escapes as a hiss. If it is too tight, almost nothing gets through. Between those two is a gap roughly the width of a drinking straw, and finding it reliably is the first real skill of whistling.

It is not something you were born with or without. It is a shape, and shapes can be learned. Most adults who say they cannot whistle are doing one of two things: pushing a lot of air through an opening that is slightly too large, or pressing their lips so firmly that the edges stiffen and the sound cannot start. Neither problem is fixed by effort. Each is fixed by a small adjustment and a moment of careful listening.

In this lesson you will build the shape in stages, check it in a mirror, and learn to read what each attempt is telling you. Expect the first sounds to be faint and unreliable. That is a good sign: a faint note is a real note.
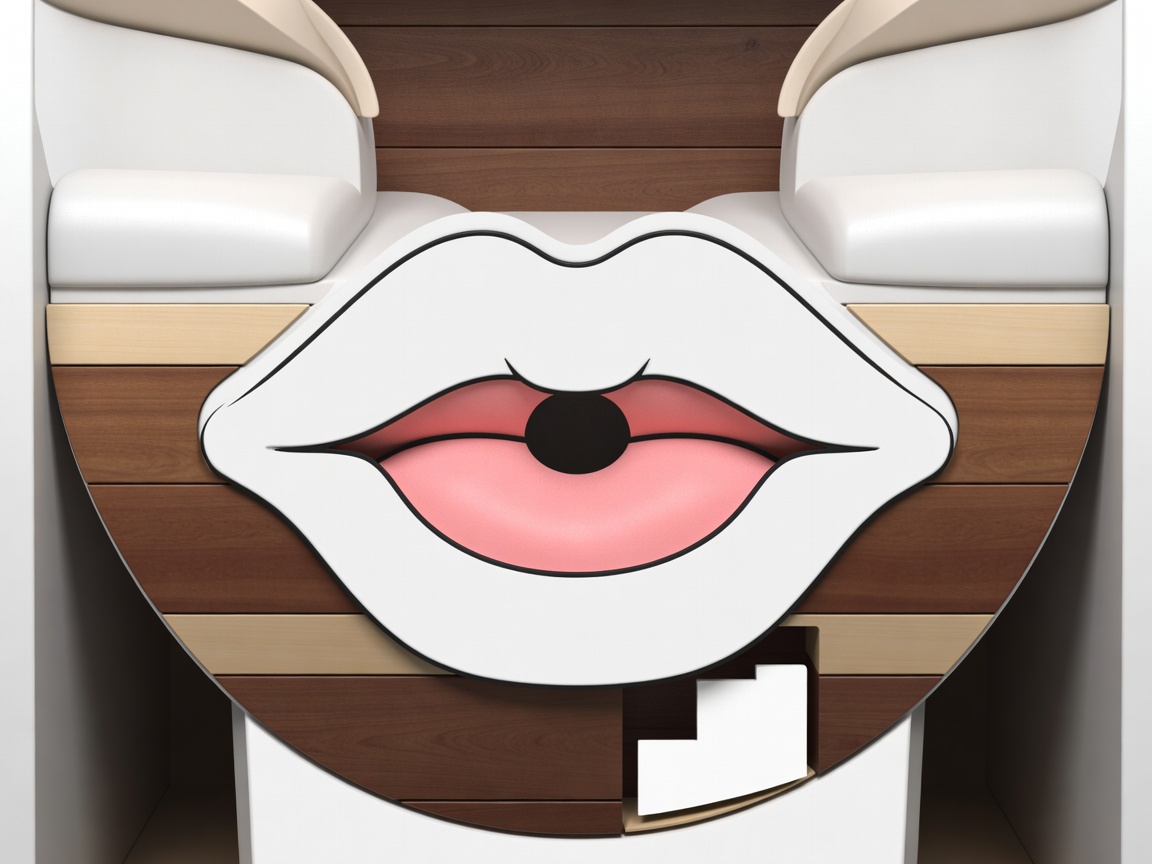

Simple diagram of rounded lips forming a small central opening, with the tongue resting low behind the lower teeth
Front and side view: a small, centred opening with soft lip edges and a low tongue.

mouth-position sequence

Build the shape in six stages

Work through the stages slowly. If one stage feels wrong, return to the stage before it rather than pushing on.

  1. Release the jaw

    Let your teeth part by about the width of a finger. Clenched teeth make the cavity behind the lips too small and pull the lips tight. Yawn once if your jaw feels stiff.

  2. Moisten the lips

    Dry lips catch and flutter, which breaks the airflow into hiss. Lick them lightly before each round, and keep water nearby. This sounds trivial; it is one of the most common reasons a note disappears.

  3. Round, then pucker gently

    Say "oo" without voice. Then push the lips slightly forward, as if about to give a polite kiss on the cheek. The corners should move inwards, not the centre pressing outwards.

  4. Find the straw-sized gap

    In a mirror, look for a small, roughly circular opening in the middle of the lips. If it is oval and wide, bring the corners in a fraction. If you cannot see a gap at all, relax.

  5. Rest the tongue low and forward

    Let the tip touch lightly behind your lower front teeth. A tongue that rises or pulls back early often blocks the air or produces a squeak.

  6. Blow as if cooling a spoonful of tea

    Slow, steady, gentle air. Hold the shape still and keep blowing for two or three seconds while you listen. If a faint tone appears, do not chase it with more air; hold everything exactly as it is.

reading the result

What each attempt is telling you

Only air, no tone

The opening is probably too wide, or air is leaking at the corners. Bring the corners in slightly and check in the mirror that the gap is central.

Silence

The lips may be too tight, or the tongue may be blocking the air. Soften the lips, lower the tongue and make sure you can feel air on your hand held in front of your mouth.

A faint note that cuts out

You are very close. Moisten your lips and keep the airflow steady. Fluctuating breath is the usual culprit here; see Spend Less Air.

A thin squeak

The tongue has likely risen and tensed. Let it drop and relax backwards slightly. A lower tongue gives a fuller, lower note that is easier to hold.

expandable practice

Three short drills

Mirror round · three minutes
  1. Stand at a mirror in good light.
  2. Form the "oo" shape, then the gentle pucker.
  3. Watch the opening while you blow softly. Keep it round and centred for five breaths.
  4. Rest for thirty seconds and repeat.
Straw shadow · two minutes
  1. Place a clean drinking straw between your lips and notice its width.
  2. Remove it and try to hold the same small opening.
  3. Blow gently. If you hear air only, the gap has widened; replace the straw and reset.
Ten-attempt log · five minutes
  1. Make ten relaxed attempts with a rest between each.
  2. After each, note one word: clear, airy, silent or squeak.
  3. Look for the pattern and adjust the one thing it points to. The attempt log on the home page can count for you.

Keep sessions short. Lips tire quickly at first, and tired lips stiffen. Several five-minute sessions across a day will usually do more than one twenty-minute push. Some learners get a tone in the first session, others after a couple of weeks. Both are normal.

A teenager watching her rounded lip shape in a hallway mirror while practising
A mirror shows you the shape your ears cannot yet judge.